
I have been asking for a marshmallow shooter for years now! Mommy and Daddy said it was too expensive for something you can buy int he hardware store and build for less than 1/4 of the cost! Mommy helped me look up some videos on YouTube. We watched about 4 and I picked one I liked and thought would be easy to follow. We went to Ace and bought the parts (less than $5!!! with lots of straight pipe extra!). I helped mark out where all the cuts needed to go and then used the hacksaw and broke a sweat! It was 104F with the heat index and we sat in the driveway and sawed away! Mommy helped keep me steady and refused to do the work herself. Sheesh! After about 30 minutes I had everything cut. I borrowed some sandpaper from the neighbor and smoothed out the rough edges. We washed it and then brought it inside to dry and assemble.

You don’t use glue since you have to disassemble to clean and dry out often. I follow the diagram I drew and assembled the shooter.
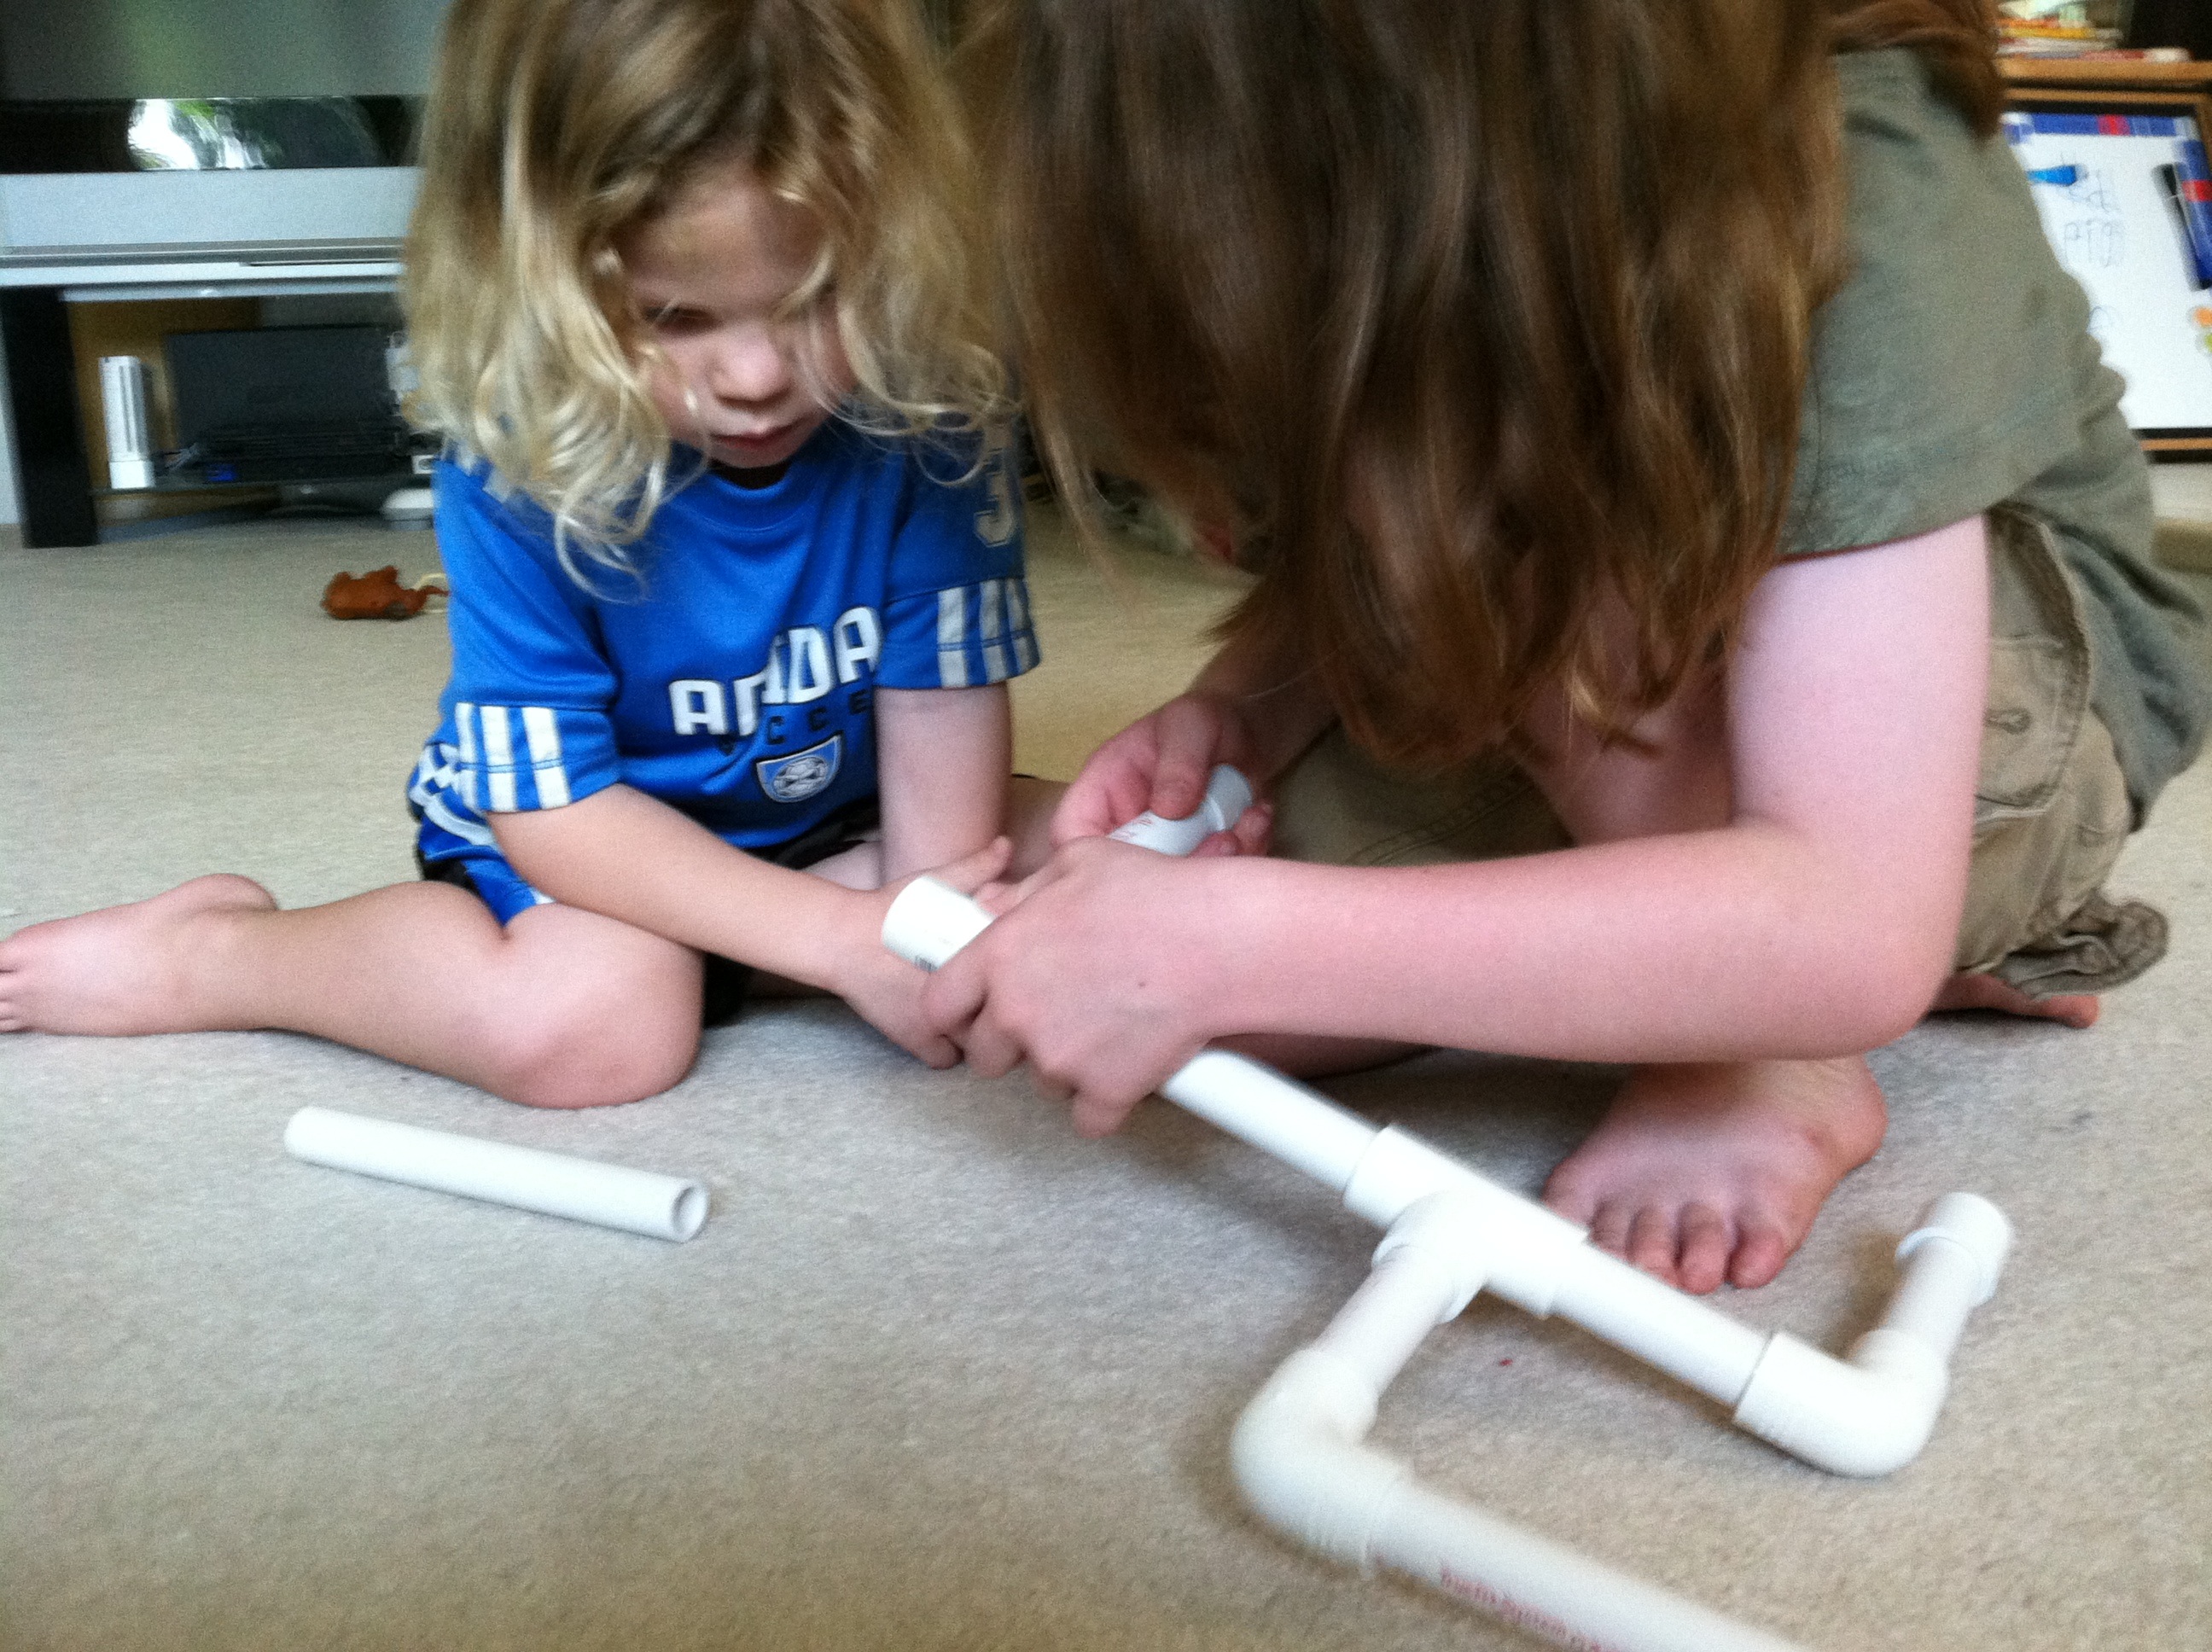
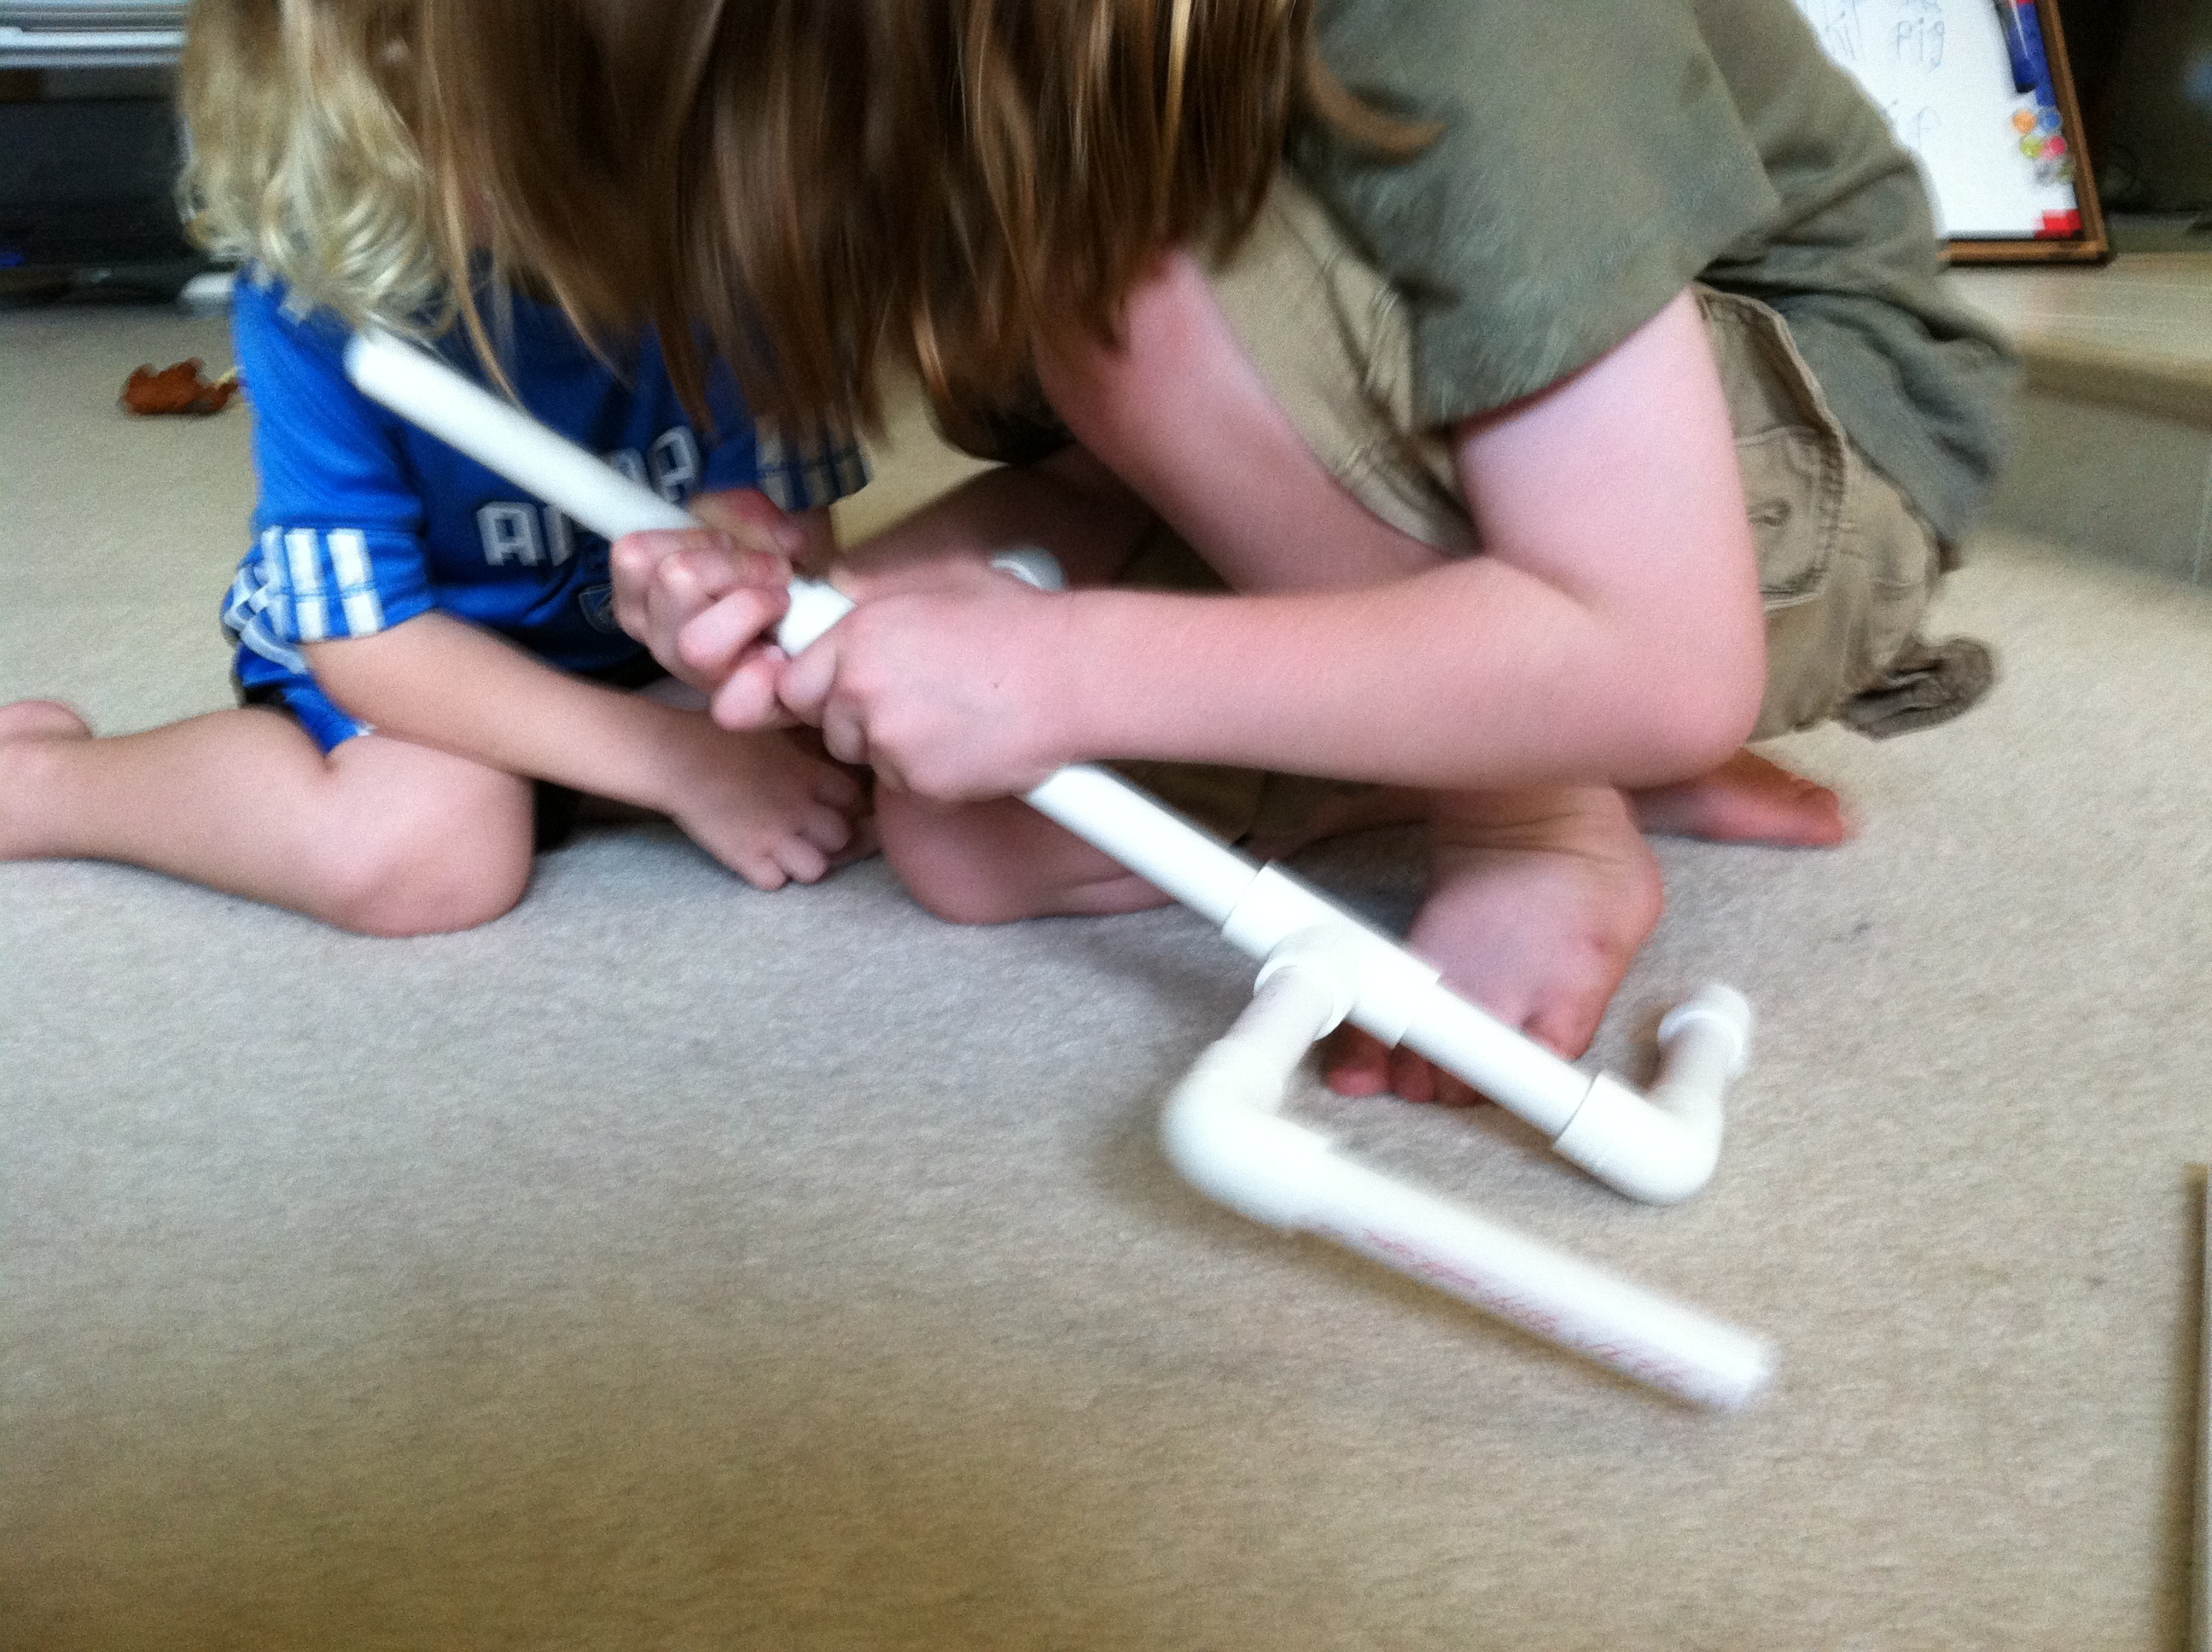
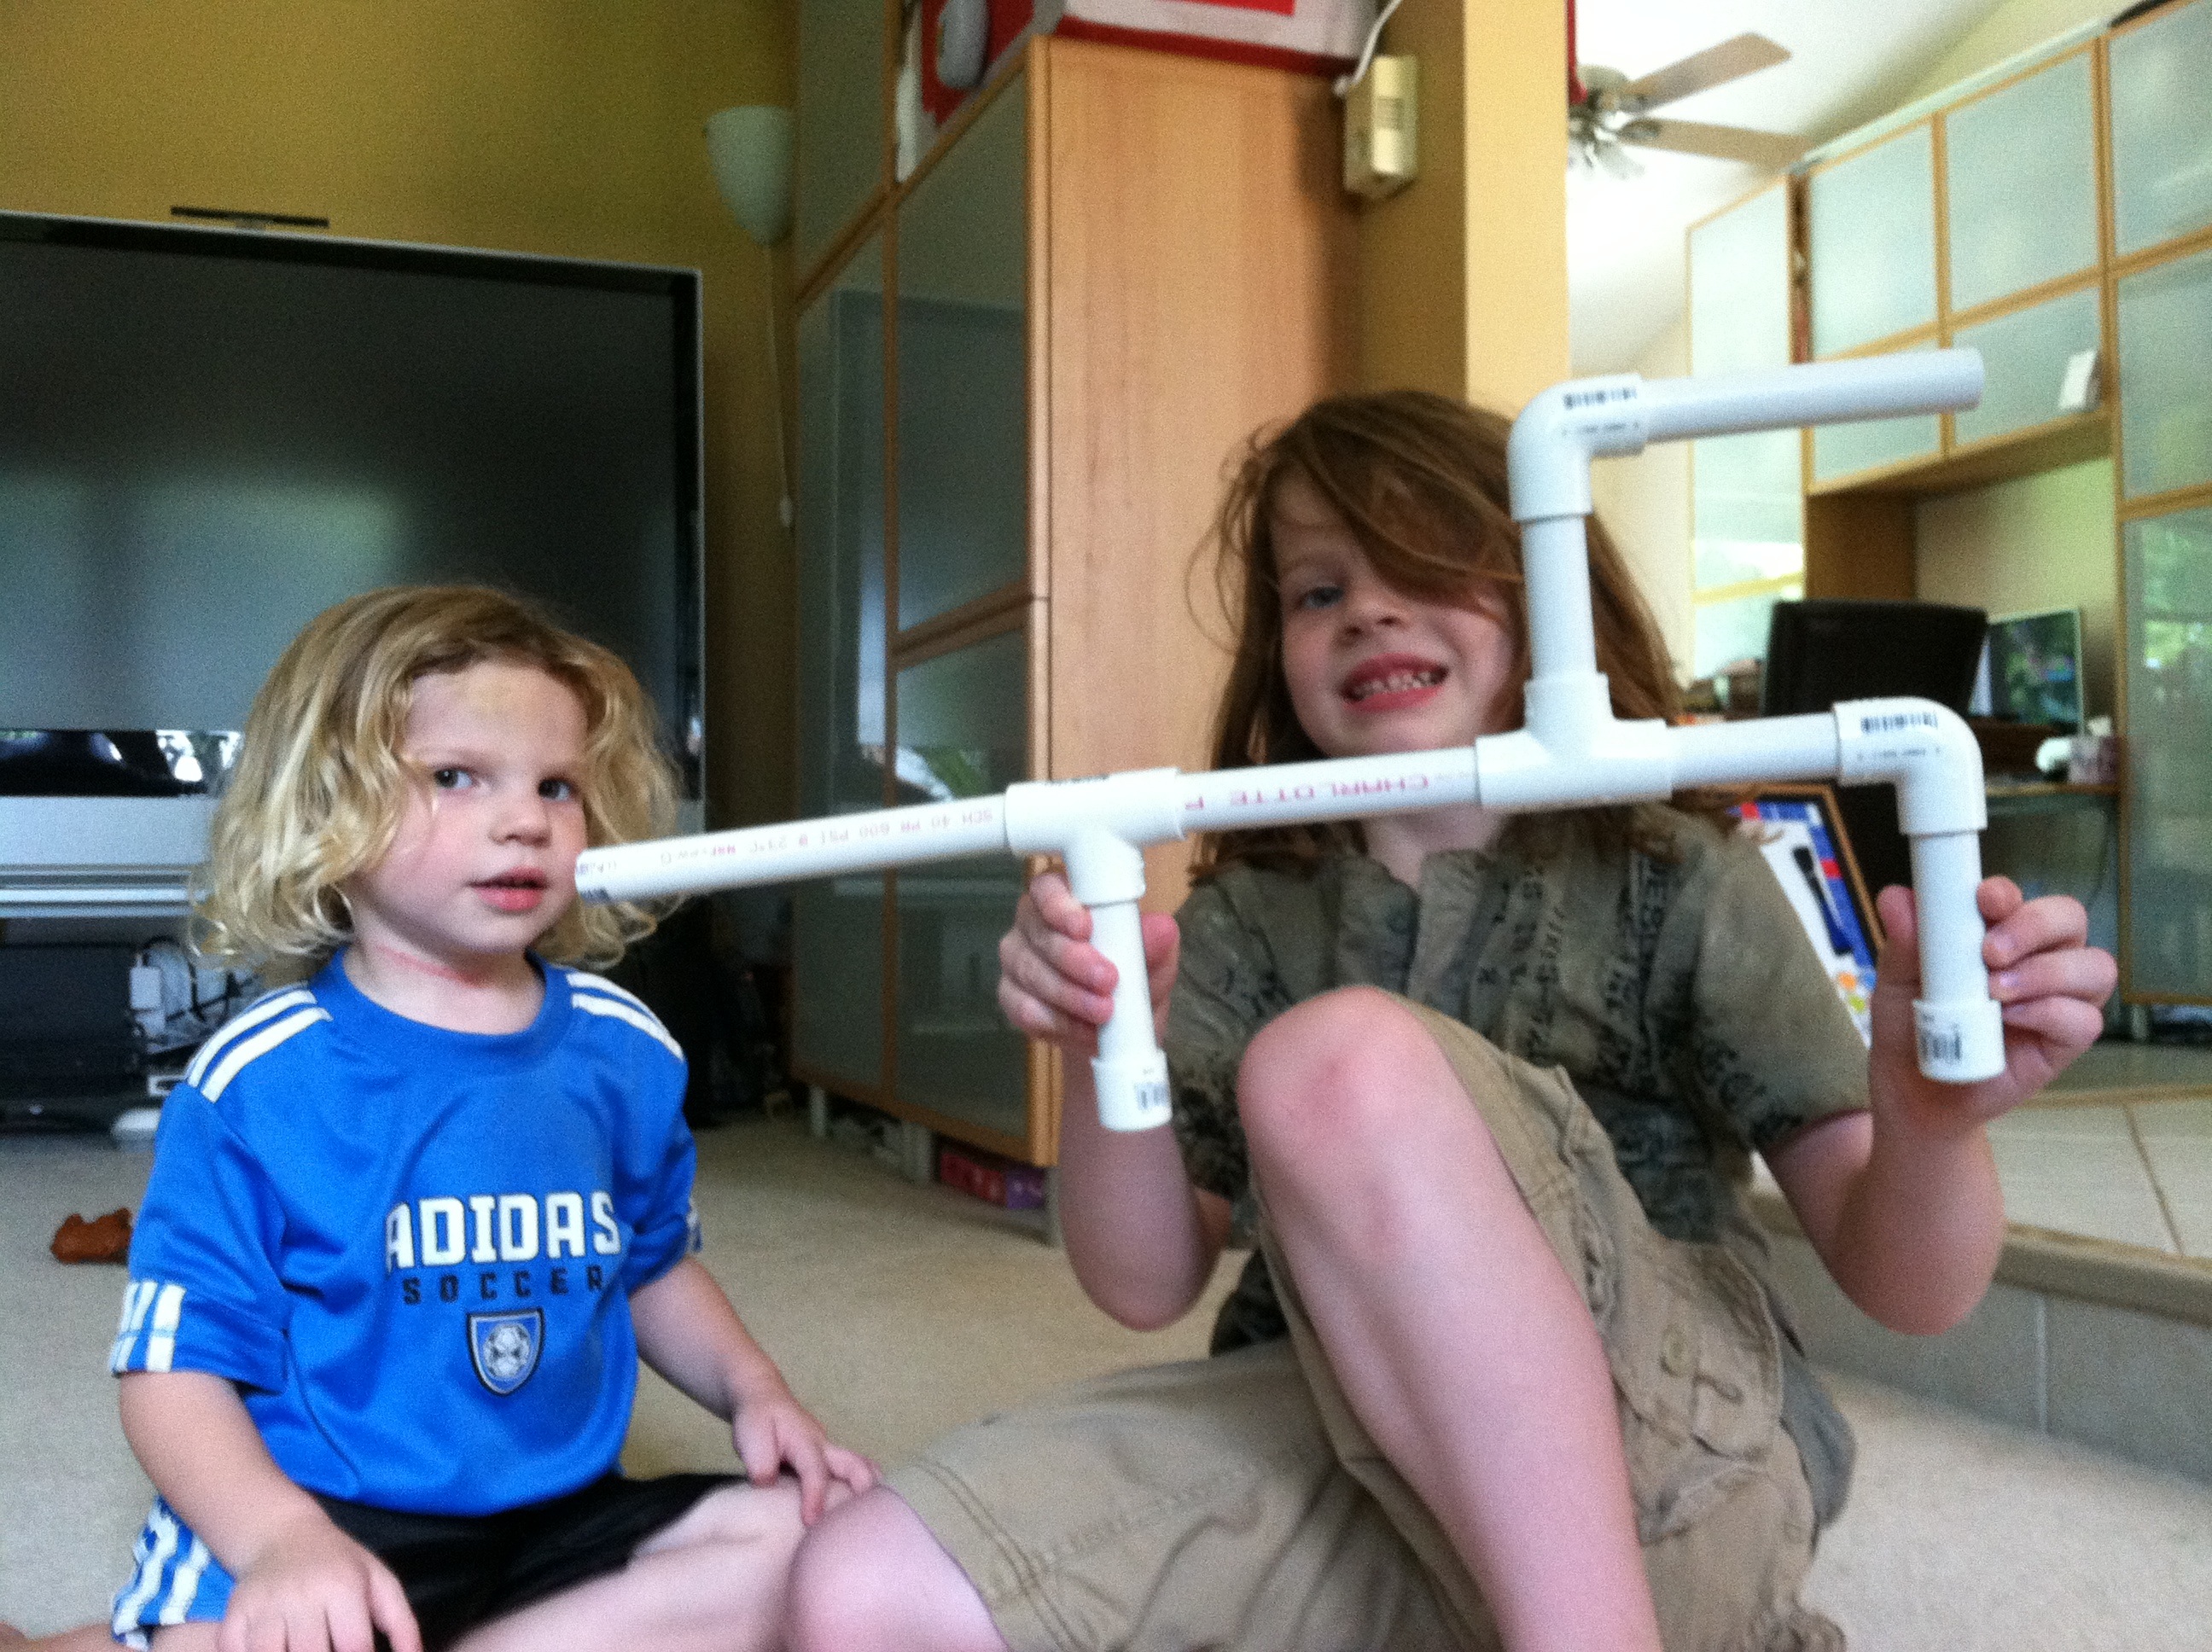
Finished product. Mommy helped get all the pieces night and tight so they don’t fall out.
Loading my first marshmallow.
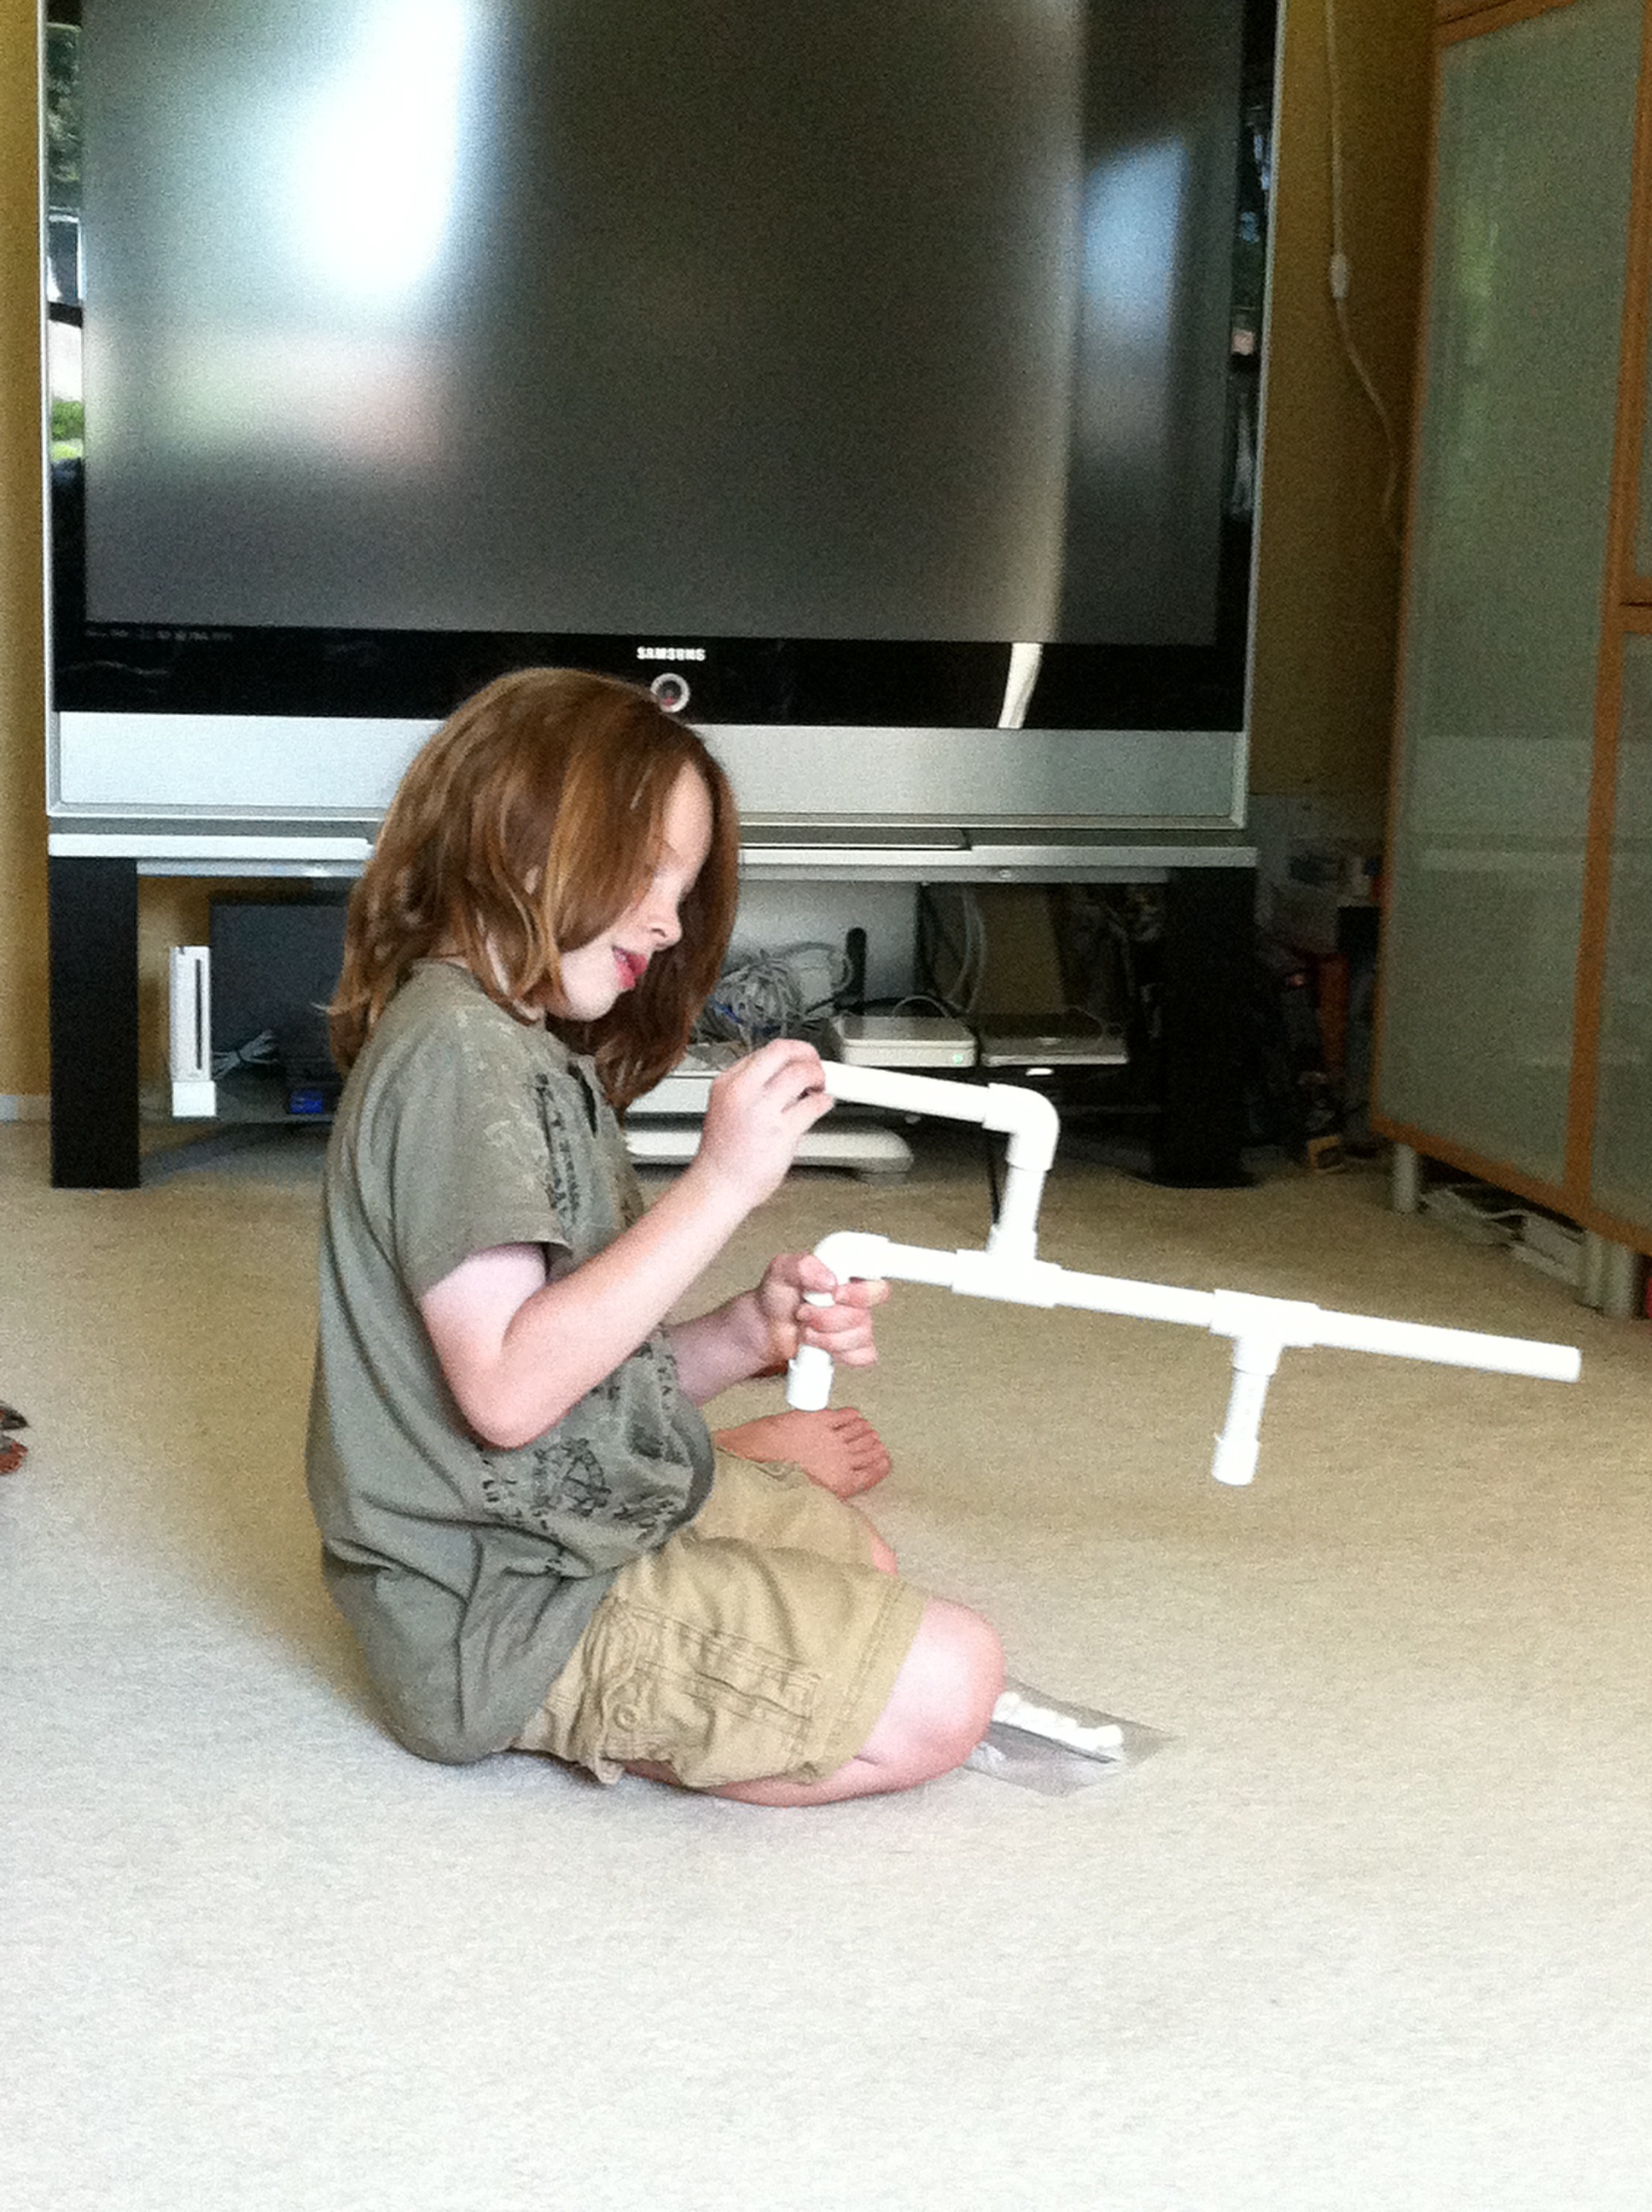
A BIG puff of air and out pops the marshmallow! It took me a few tries to get it to go far. You really need power behind the air.

I made little targets to try to knock over. I for really good at shooting by the end of the day!
